- Download Expensify and register with Zendrue email address
- Make sure that you could find ‘Zendure US’ policy in setting/Policies
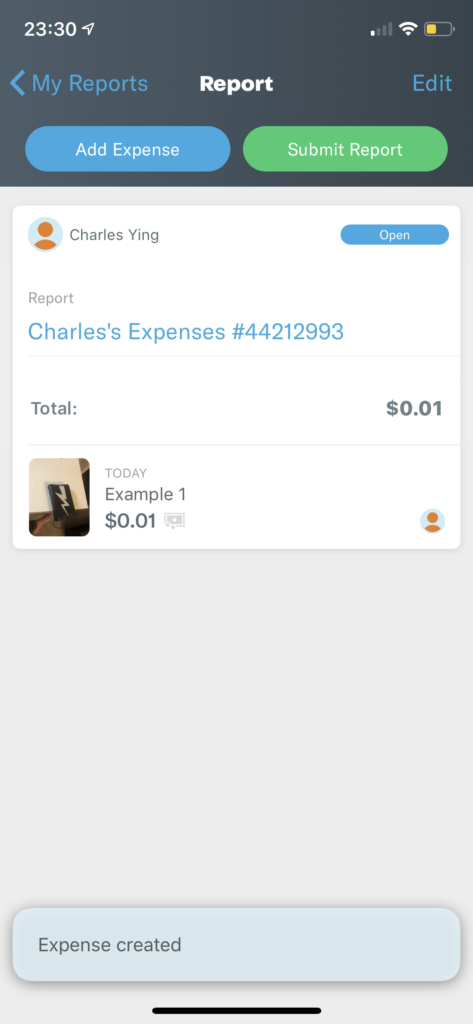
- Under Report, use ‘+’ on the right corner to create new reports
- In your report, you could upload serval receipts by take pictures which you need to reimbursement.
- Please add the amount, note, title manually, if these information didn’t catch by the app automatically.
- You can use ‘add expense’ button to upload several receipts
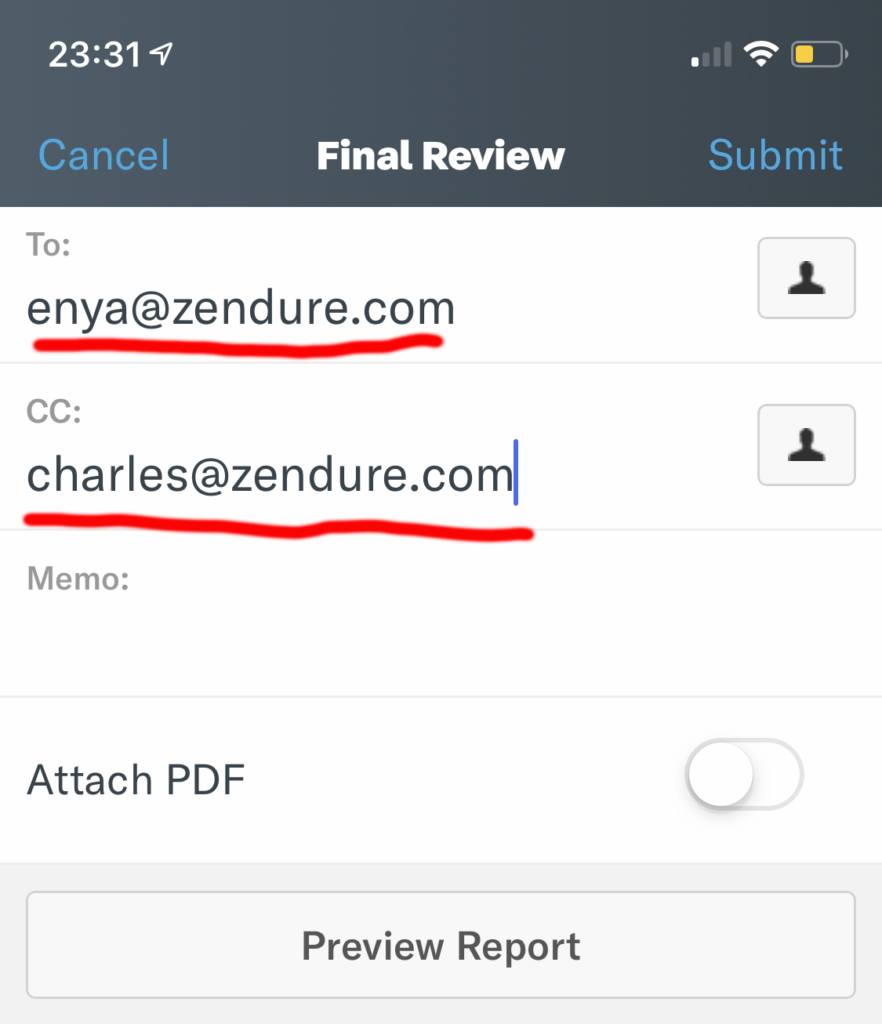
- Submit the report to [email protected] and cc [email protected] so that Enya could approve your reimbursement.
- After approval, you will receive reimbursement shortly.
– You can use either PayPal or your personal bank account as your deposit account for reimbursement. Check the link below for detail instructions:https://docs.expensify.com/setup-for-submitters/advanced-configuration-for-submitters/add-a-deposit-account-united-states
– If you drive out for company, such as photo shooting, you can add the distance for your expense.https://docs.expensify.com/setup-for-admins-and-accountants/using-your-policies/mileage-and-gps-expenses
Update on Sep 26th
=> Click More option when you submit an expense receipt.
=> Click ‘Categories’
=> Choose categories according to the receipt you submitted. Here are some examples for your reference.
– Airplane tickets, Uber, Gas, etc <> Sales/Branding Marking Center-Traffic
– Any meals eligible for reimbursement including all-hands meeting and meal during a business trip, <> Sales/Branding Marketing Center-Meals
– Hotel for business trip <> Sales/Branding Marketing Center-Hotel
– Office supplies, such as name cards, shipping label, pens etc <> Functional Center-Office equipment
– Social media promotion fee <> Branding Marketing center-Social Media